
Winter is a beautiful season, but it brings special challenges for RV owners. Without the right preparation, cold temperatures can damage your RV’s plumbing system and cost you a lot in repairs. Winterizing your RV with an air compressor is a smart way to protect your investment and avoid unexpected surprises when spring arrives. If you want to learn how to do this safely and effectively, this guide covers everything you need to know—step by step. Even if you’re new to RV maintenance, you’ll find clear instructions and tips to help you feel confident.
Why Winterize Your Rv?
Freezing temperatures can turn the water left in your RV’s pipes into ice. When water freezes, it expands and can crack pipes, fittings, pumps, and even your water heater. Repairs can be expensive and time-consuming. Winterizing removes water from the plumbing, so nothing is left to freeze.
Many people use RV antifreeze, but using an air compressor has some big advantages:
- No chemical taste or smell in your plumbing
- Less mess to clean up in spring
- Cheaper (no need to buy gallons of antifreeze)
- Environmentally friendly (no waste fluids)
Winterizing with air is especially popular among full-time RVers and those who want a fast, effective method.
What You Need Before Starting
Preparation is key. Before you begin, gather these items:
- Air compressor (capable of at least 30–50 PSI)
- Blowout plug or adapter (fits your RV’s city water inlet)
- Basic hand tools (screwdriver, pliers)
- Freshwater hose (optional, for draining)
- Bucket (to catch water from drains)
- Teflon tape (for sealing threads if needed)
- RV owner’s manual (for reference)
Using the right tools makes the job easier and safer. Never use an air compressor that delivers more than 50 PSI, as higher pressure can damage your plumbing system.

Credit: www.youtube.com
How An Air Compressor Winterizes Your Rv
When you connect an air compressor to your RV’s water lines, the compressed air pushes out all the remaining water through the faucets and drains. This process is called “blowing out” the lines. It’s important because even a small amount of water left behind can freeze and cause damage.
Here’s a quick overview of the process:
- Drain all water tanks and heaters first
- Attach a blowout plug to the city water connection
- Use the compressor to force air through the system
- Open faucets and drains one by one to clear water
Let’s break down each step in detail.
Step-by-step: Winterizing Your Rv With An Air Compressor
1. Drain The Fresh Water System
Start by turning off the water pump and disconnecting your RV from any outside water source. Open all faucets (hot and cold) to relieve pressure. Then, open the low-point drains (usually found underneath the RV) and let the water flow out. Don’t forget the outside shower if you have one.
2. Empty The Water Heater
Never use the air compressor before draining the water heater. Make sure it is turned off and the water is cool. Remove the drain plug and open the pressure relief valve. Allow all water to escape into a bucket or onto the ground (if safe).
Tip: Some water heaters have an anode rod—check if it needs replacement while it’s out.
3. Bypass The Water Heater (if Possible)
Many RVs have a bypass valve for the water heater. Closing this valve keeps air from entering the heater, which isn’t necessary since it’s empty. If your RV doesn’t have one, you can skip this step, but it saves time and air.
4. Drain The Black And Gray Tanks
These tanks hold waste water and should be emptied at a dump station. Rinse them with clean water to prevent odors and build-up over winter.
5. Attach The Blowout Plug
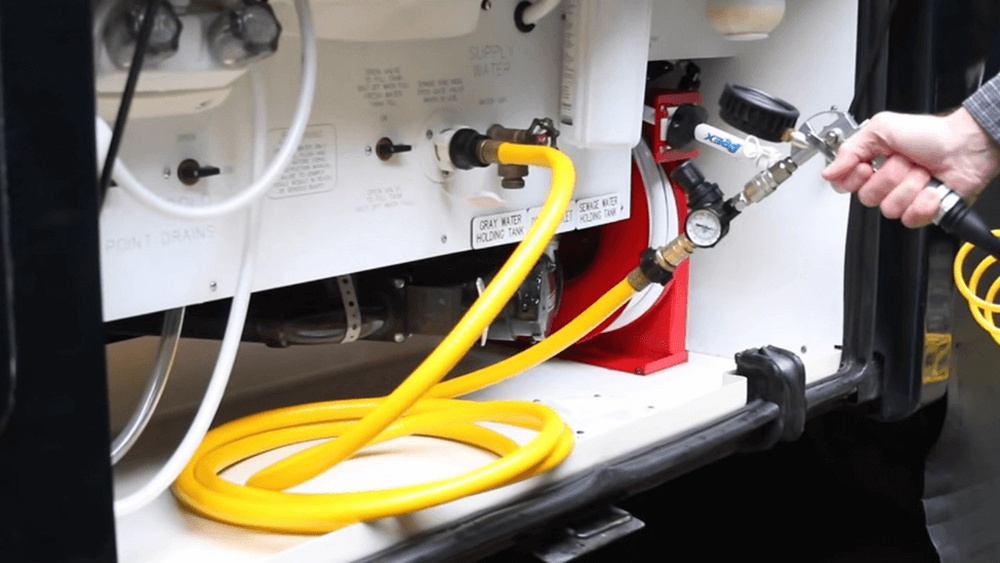
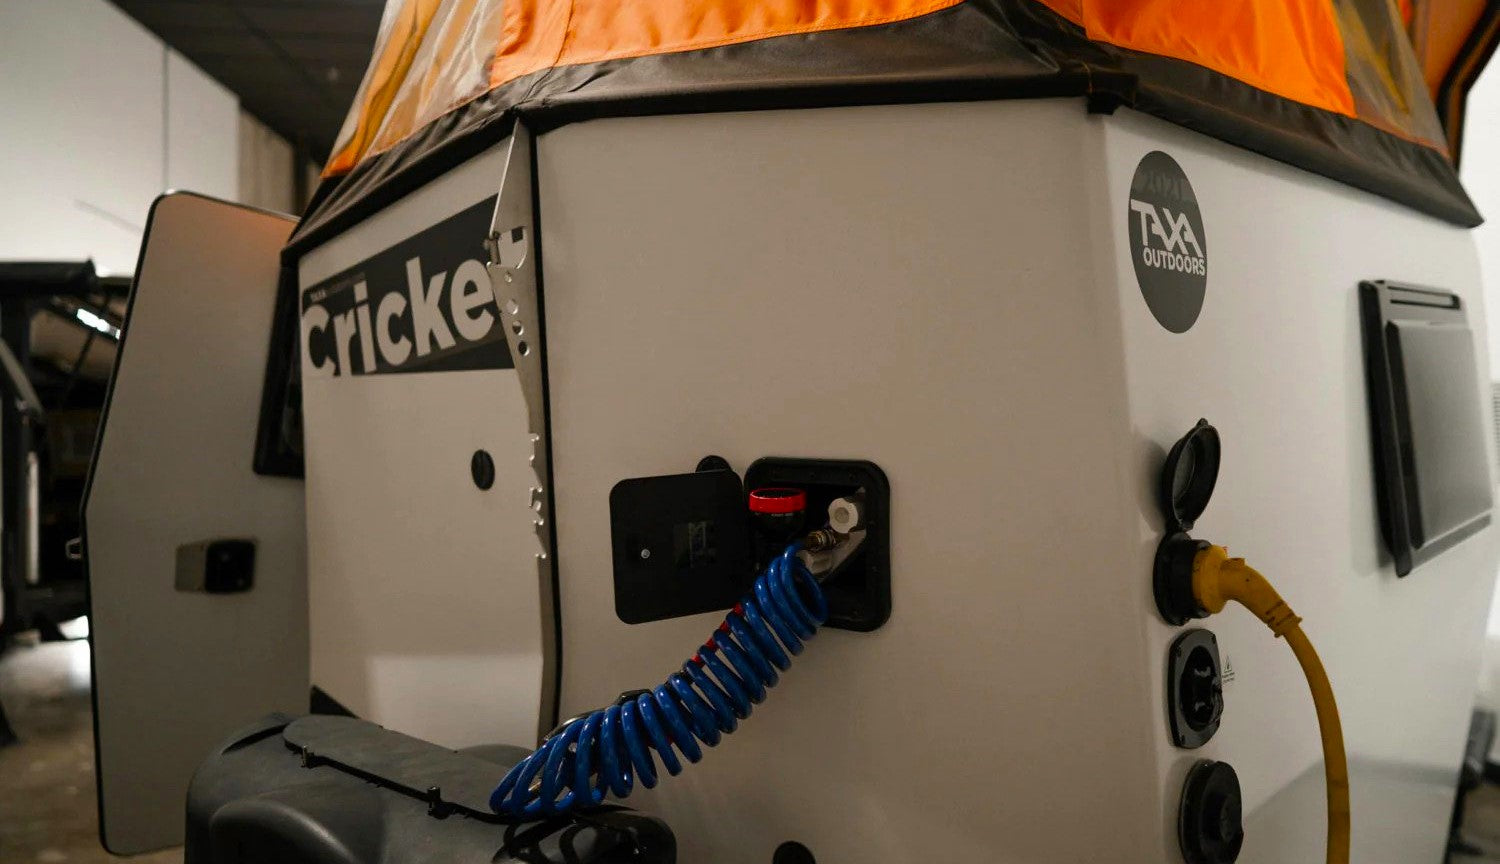
Screw the blowout plug into your RV’s city water connection. Hand-tighten only—using tools can crack the fitting. Connect your air compressor hose to the plug.
Important: Double-check your air compressor’s pressure setting. It should not exceed 50 PSI.
6. Blow Out The Lines
Turn on the air compressor. Go inside your RV and open the faucet furthest from the inlet (usually the kitchen or bathroom sink). Open the hot side first until only air comes out, then the cold side.
Repeat for all faucets, showers, and the toilet. Don’t forget outside faucets and the washing machine if you have one. Work from farthest to nearest for best results.
Pro Tip: Hold a towel over the faucet to catch water spray.
7. Clear Appliances
Many RVs have appliances connected to water lines, such as an ice maker, dishwasher, or washing machine. Check your owner’s manual for instructions on blowing out these lines. Usually, running the appliance briefly with air pressure will clear the water.
8. Check All Traps And Drains
Some water may be left in P-traps (under sinks and showers). Pour a small amount of RV antifreeze into each drain to prevent freezing. This is the only antifreeze you’ll need if you use an air compressor.
9. Final Checks
Walk through your RV and check that all water is out of the system. If you find any slow drains or drips, repeat blowing out those lines. Close all faucets and drains.
10. Store Your Rv Safely
Disconnect the air compressor and remove the blowout plug. Leave all faucets in the closed position. Lock your RV and store it in a safe place for winter.
Comparing Air Compressor Vs. Rv Antifreeze Method
Many RV owners wonder which method is better. Here’s a direct comparison to help you decide:
| Feature | Air Compressor | RV Antifreeze |
|---|---|---|
| Cost | Low (once you own compressor) | Higher (buy antifreeze yearly) |
| Taste/Smell | None in spring | Possible aftertaste |
| Environmental Impact | Minimal | Disposal required |
| Time | Faster | Slower |
| Protection Level | High if done right | Very high (lines filled with antifreeze) |
Non-obvious insight: Some RVers combine both methods for extra safety—blow out lines, then add a bit of antifreeze in drains and traps.
Common Mistakes To Avoid
Even experienced RV owners make mistakes when winterizing. Watch out for these:
- Setting air pressure too high: Over 50 PSI can burst pipes or fittings.
- Forgetting outside showers or low-point drains: Water left here can freeze.
- Not draining water heater: Air will not remove all water from a full tank.
- Ignoring appliances: Ice makers and washers can trap water.
- Not checking P-traps: These are common freeze spots.
Another common oversight: Not checking for leaks after blowing out the lines. A small leak can allow water to enter during winter and cause damage.
Credit: taxaoutdoors.com
How To Choose The Right Air Compressor And Blowout Plug
Not all air compressors are equal. Look for these features:
- Adjustable pressure: Lets you set under 50 PSI
- Portable size: Easy to bring to your RV
- Oil-free pump: Less maintenance
The blowout plug must fit your RV’s city water connection. There are two main types:
| Blowout Plug Type | Material | Pros | Cons |
|---|---|---|---|
| Brass (male) | Brass | Durable, long-lasting | Heavier, more expensive |
| Plastic (male) | Plastic | Cheap, lightweight | Less durable |
| Quick connect (female) | Brass/plastic | Faster to attach | May not fit all hoses |
Tip: Test your blowout plug for leaks before you begin.
Safety Tips For Winterizing With Air
Working with compressed air is generally safe, but keep these tips in mind:
- Always wear eye protection when blowing out lines.
- Keep children and pets away from the area.
- Never stand directly over open faucets—water and air can spray out quickly.
- Double-check all connections before starting the compressor.
If you’re new to RV winterizing, ask a friend or watch a demonstration video first.
Step-by-step Example
Let’s walk through a sample winterizing session for a common travel trailer:
- Disconnect from water and power.
- Open all faucets, drain water heater and fresh tank.
- Dump black and gray tanks at a certified dump station.
- Attach brass blowout plug to city water inlet.
- Set air compressor to 40 PSI and connect to blowout plug.
- Open kitchen sink hot side—hold towel over faucet. Wait until only air.
- Repeat for cold side, bathroom sink, shower, toilet, and outside shower.
- Pour 1/2 cup RV antifreeze in each drain trap.
- Remove blowout plug, close faucets, and lock up.
This process takes about one hour and costs less than buying a few gallons of antifreeze each year.
When Should You Winterize Your Rv?
The best time is before the first freeze in your area. Even a single cold night can damage pipes. If you travel between warm and cold regions, winterize as soon as you store the RV for more than a few days.
Pro tip: If you use your RV in winter, you can de-winterize and re-winterize as needed.
What To Do In Spring
When winter is over, getting your RV ready is simple if you used air to winterize:
- Reconnect water and fill the fresh tank.
- Open faucets to flush out any dust.
- Check all appliances for leaks.
- Sanitize the system as recommended in your owner’s manual.
No need to flush out antifreeze, which saves time and water.
Recommended Resources
For more details and advanced tips, visit the official RV Travel Guide. They offer in-depth guides and community advice for RV owners.

Credit: www.youtube.com
Frequently Asked Questions
How Much Psi Should I Use To Winterize My Rv With An Air Compressor?
You should never exceed 50 PSI. Most RV plumbing systems are designed for 40–50 PSI. Too much pressure can damage pipes and fittings.
Do I Still Need Rv Antifreeze If I Use An Air Compressor?
If you blow out all water lines properly, you don’t need to fill them with antifreeze. However, it’s smart to pour a small amount of RV antifreeze in each drain and P-trap, as air cannot push water out of these.
Can I Use Any Air Compressor For This Job?
Not all air compressors are suitable. Choose one with adjustable pressure and enough capacity to deliver steady airflow. Small tire inflators may not work well. Portable pancake compressors are a popular choice.
What Happens If I Forget To Winterize My Rv?
If water remains in the plumbing during freezing temperatures, it can freeze and expand, causing cracked pipes, broken valves, and expensive leaks. Always winterize before the first frost to avoid repairs.
Is It Safe To Blow Out The Lines By Myself?
Yes, with proper precautions. Wear eye protection, keep the air pressure low, and follow the instructions. If you’re unsure, ask a friend or an RV technician for help.
Getting your RV ready for winter with an air compressor is simple, cost-effective, and reliable if you follow these steps. You’ll protect your investment and start spring travels without costly problems.